Table of Contents
Server Management
The following procedure describes the creation of a virtual machine, also known as VPS, operating a Linux OS.
Since renting a VPS has a cost, and since instances with Linux OS are cheaper than Windows OS, the following features must be taken into consideration:
- when operating on a server it's important to limit the resources required by the desktop environment in favour of the resources needed by the computation activities;
- the
aarch64architecture, by the AMPERE processor, is not supported by thewinepackage, while theamd64architecture, by the AMD processor, is well supported.
Terminology
The following terminology will be used throughout this guide:
- server machine: the computer, generally, far away from the operator and without display;
- client machine: the computer used by the operator;
<user>: the username given by the provider of the service as soon as the VPS is created;<public_ip>: the public IP given by the provider of the service as soon as the VPS is created;<private_key_file>: a cryptic access key given by the provider of the service or created by the user and necessary to establish a secure connection to the server.
Connecting to the server via CLI
Open a terminal inside the folder containing the ssh private key and restrict its permission:
chmod 400 <private_key_file>
then create a shh-tunnel to the instance:
ssh -i <private_key_file> <user>@<public_ip>
where the tokens <user> and <public_ip> have to be replaced with those used on the server.
Info: the two ssh keys have been associated and further connection to the server will be trusted only if performed with the private key provided.
Set a password for the current user:
sudo passwd <user>
Tip: use the command:
exit
to close the connection with the server or to exit from the root bash.
At this point, it's possible to operate on the server only through the terminal.
Connecting to the server via GUI
Connect to the server with:
ssh -i <private_key_file> <user>@<public-ip>
Upgrade the packages:
sudo apt update && sudo apt upgrade
and then install a lightweight desktop environment, like lubuntu:
sudo apt install lubuntu-desktop
On the server machine install a VNC server, like tigervnc:
sudo apt install tigervnc-standalone-server
whereas, on the client machine install the VNC viewer:
sudo apt install tigervnc-viewer tigervnc-tools
On the server, start the VNC server with the command:
vncserver
Important: every time the server is rebooted it's necessary to start again the VNC server unless it has been configured as a service.
Important: it will be asked to set a password for the VNC server; this password will be the same that will be used through the VNC viewer.
To connect to the server via VNC, close the previous connection and then create a ssh-tunnel to the server with:
exit
ssh -i <private_key_file> -L 5901:127.0.0.1:5901 <user>@<public_ip>
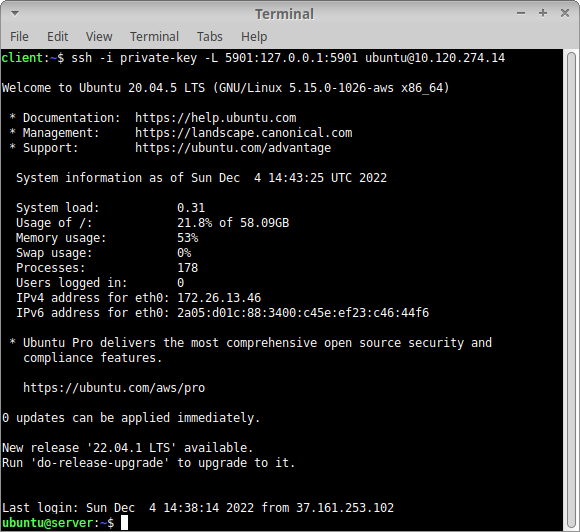
then open a second terminal, always in the client machine, and run:
vncviewer
insert the address:
localhost:5901
and insert the same password set for the VNC server.
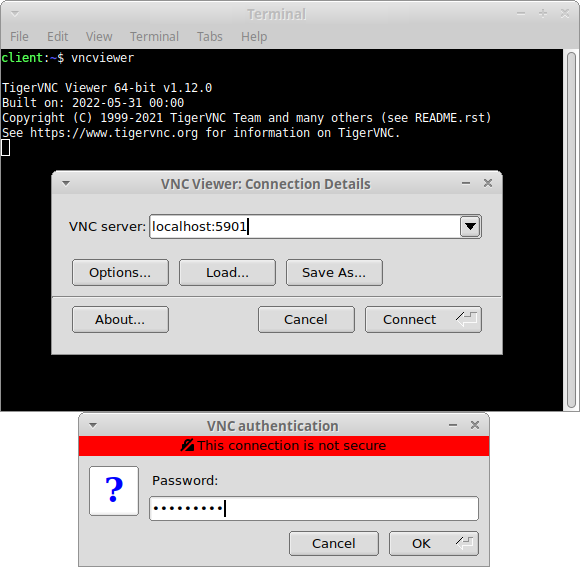
vncviewer in the client terminal.Tip: it's possible to use one line of code:
ssh -i <private_key_file> -fL 5901:127.0.0.1:5901 <user>@<public_ip> sleep 10; vncviewer localhost:5901 -passwd <(echo <password> | vncpasswd -f)
where the tokens <private_key_file>, <user>, <public_ip> and <password> have to be replaced with their values.
The server desktop will be shown.
Reboot the server via CLI
Close any GUI of the server and connect to the server with:
ssh -i <private_key_file> <user>@public-ip>
run the command:
sudo reboot
wait (one or two minutes) till the server has restarted, then connect again to the server with:
ssh -i <private_key_file> <user>@public-ip>
reload VNC server:
vncserver
close the connection with the server:
exit
Running VNC as System Service
In order to ensure that VNC starts up when the server reboots, create the following file in /etc/systemd/system/vncserver@.service, where the token <user> must be replaced with the actual user name:
[Unit]
Description=Start VNC server at startup
After=syslog.target network.target

[Service]
Type=forking
User=<user>
PIDFile=/home/<user>/.vnc/%H:%i.pid
ExecStartPre=/usr/bin/vncserver -kill :%i > /dev/null 2>&1
ExecStart=/usr/bin/vncserver :%i
ExecStop=/usr/bin/vncserver -kill :%i

[Install]
WantedBy=multi-user.target
Make the system aware of the new unit file:
sudo systemctl daemon-reload
and enable it to start at boot time/shutdown:
sudo systemctl enable --now vncserver@1.service
Check the status with the following:
sudo systemctl status vncserver@1.service
Info: the 1 following the @ sign signifies which display number the service should appear over.